DDS with AD9951 and PIC16F877 up to 160 MHz
Users Guide
picture 1
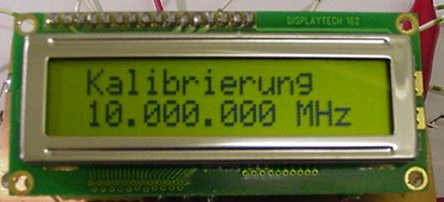
To Start calibration , hold button pressed, turn power on, release the button. During rotating the rotary encoder the calculating factor will be changed according to the frequency. Herewith you can compensate divergent frequencies of the reference oscillator. The DDS has to be connected to a frequency counter. To escape the calibration modus press the button. The new values will be stored in the EEPROM of the PIC16F877.

picture 2
The display shows the frequency
after escaping the calibration mode or after normal power on sequence. The
display will show the corresponding unit in MHz, KHz or Hz, depending
on the tuned frequency. Turn the rotary encoder to adjust the frequency.
With a short press on the button you will enter the modus :
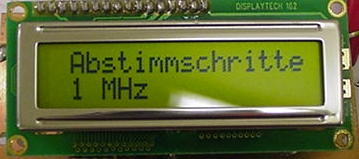
“Abstimmschritte” (= frequency steps) [picture 3]
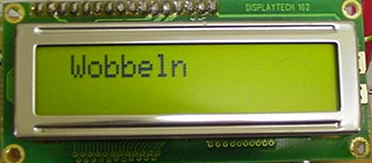
With pressing the button longer you will enter the modus: “Wobbeln” (=
wobble) [picture 4]
picture 3
In this modus you can adjust the desired frequency steps with the rotary encoder (1Hz, 10Hz, 100Hz, 1KHz, 10KHz, 100KHz, 1MHz, 10MHz). To escape the modus press the button. [picture 2]
picture 4
In this modus you can set the start and the end frequency for a wobble (sweep) mode. [picture 5]
.
picture 5
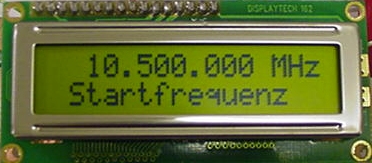
Here you can set the desired start-frequency with turning the rotary encoder. With a short press on the button you now can set the frequency steps to adjust the frequency (start and stop) (same method as in modus “Abstimmschritte”). With another short press on the button you return to the set of the start-frequency. With a longer press on the button you will change the mode to set the stop-frequency [picture 6]
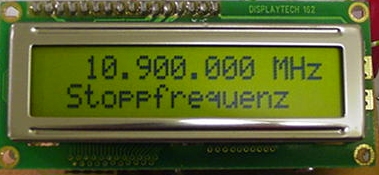
picture 6
Here you se the modus stop-frequency to adjust it.
picture 7
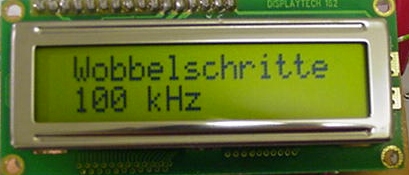
With a longer press on the button, in the modus stop-frequency, you will change to the modus “Wobbelschritte” (= wobble steps). Herewith you will decide in with frequency-steps you want to sweep from start- to stop-frequency. With the rotary encoder you can set the steps in 1Hz, 10Hz, 100Hz, 1KHz, 10KHz, 100KHz, 1MHz and 10MHz, value. With a short press on the button you will change the modus to “Haltezeit” (= time duration) [picture 8]
picture 8
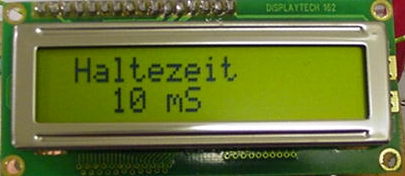
In this modus you can set the time how long each frequency in the wobble (sweep) modus will be held until the next frequency will be changed, and so on. You can use either 5mS, 10mS, 20mS, 50mS, 100mS, 200mS, 500mS und 1000mS, set with the rotary encoder. With a short press on the button now you will change the mode to set the “Endpause” (= wait time at the end) [picture 9]
picture 9
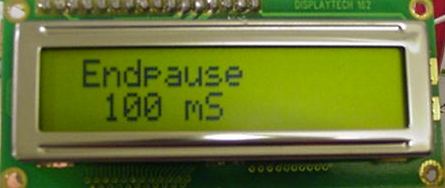
In this mode you can set the time
how long, during wobble (sweep) mode, the last frequency (stop-frequency)
will be held until the wobble (sweep) will start at the beginning
(start-frequency), This time can be set beetwen 0ms
ans 1000ms.
With 0ms no delay will be set, and the wobble (sweep) will start at the
beginning (start-frequency) immediately.
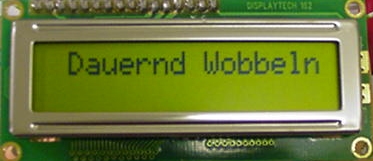
With a press on the button you will change the modus to “Dauernd Wobben” (=
continuously wobble) [picture 10]
picture 10
In this modus you can decide if you
want to have a continuos wobble (sweep) ore a single one.
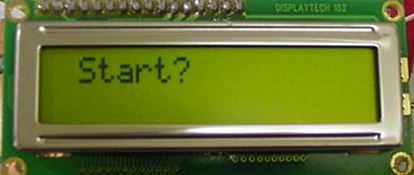
With a press on the button “Start?” (= start?) will appear [picture 11]
picture 11
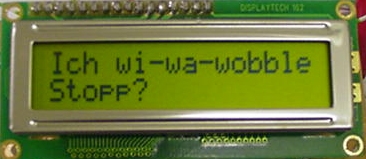
With a press on the button the wobble (sweep) will start and the display will show “Ich wi-wa-wobble, Stop?” (= I am wobbling, stop?) [picture 12]
picture 12
The wobble (sweep) will start as you let the button go. At the beginning of each start-frequency-output, the pin 33 (trigger) of the PIC16F877 will go high (+5V) for a moment and then fall back to low (0V). This signal can be used as a trigger-signal.
picture 13
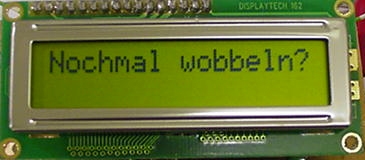
If you either press the button during the wobble (sweep) or you have reached, in the “Einmal wobbeln?” (=single wobble?) the stop-frequency, now the question “Nochmal wobbeln?” (= wobble again?) [picture 13] will show up. With a press on the button you will be able to set the following modes [picture 14]
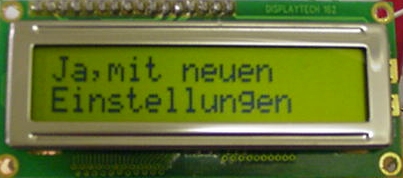
picture 14
“Nein” (= no), “Ja, mit neuen
Einstllungen” (= yes, with new settings) or “Ja, mit alten Einstellungen” (=
yes, with old settings). A short press on the button will enter the desired
mode.
With “Nein” (= no), you will get back to the main menue [picture 2].
With “Ja, mit neuen Einstellungen” (= yes, with new settings) you will
jump to start-frequency setting [picture 5].
With “Ja, mit alten Einstellungen” (= yes, with old settings) you jump to
“Start?” (= start?) [picture 11]